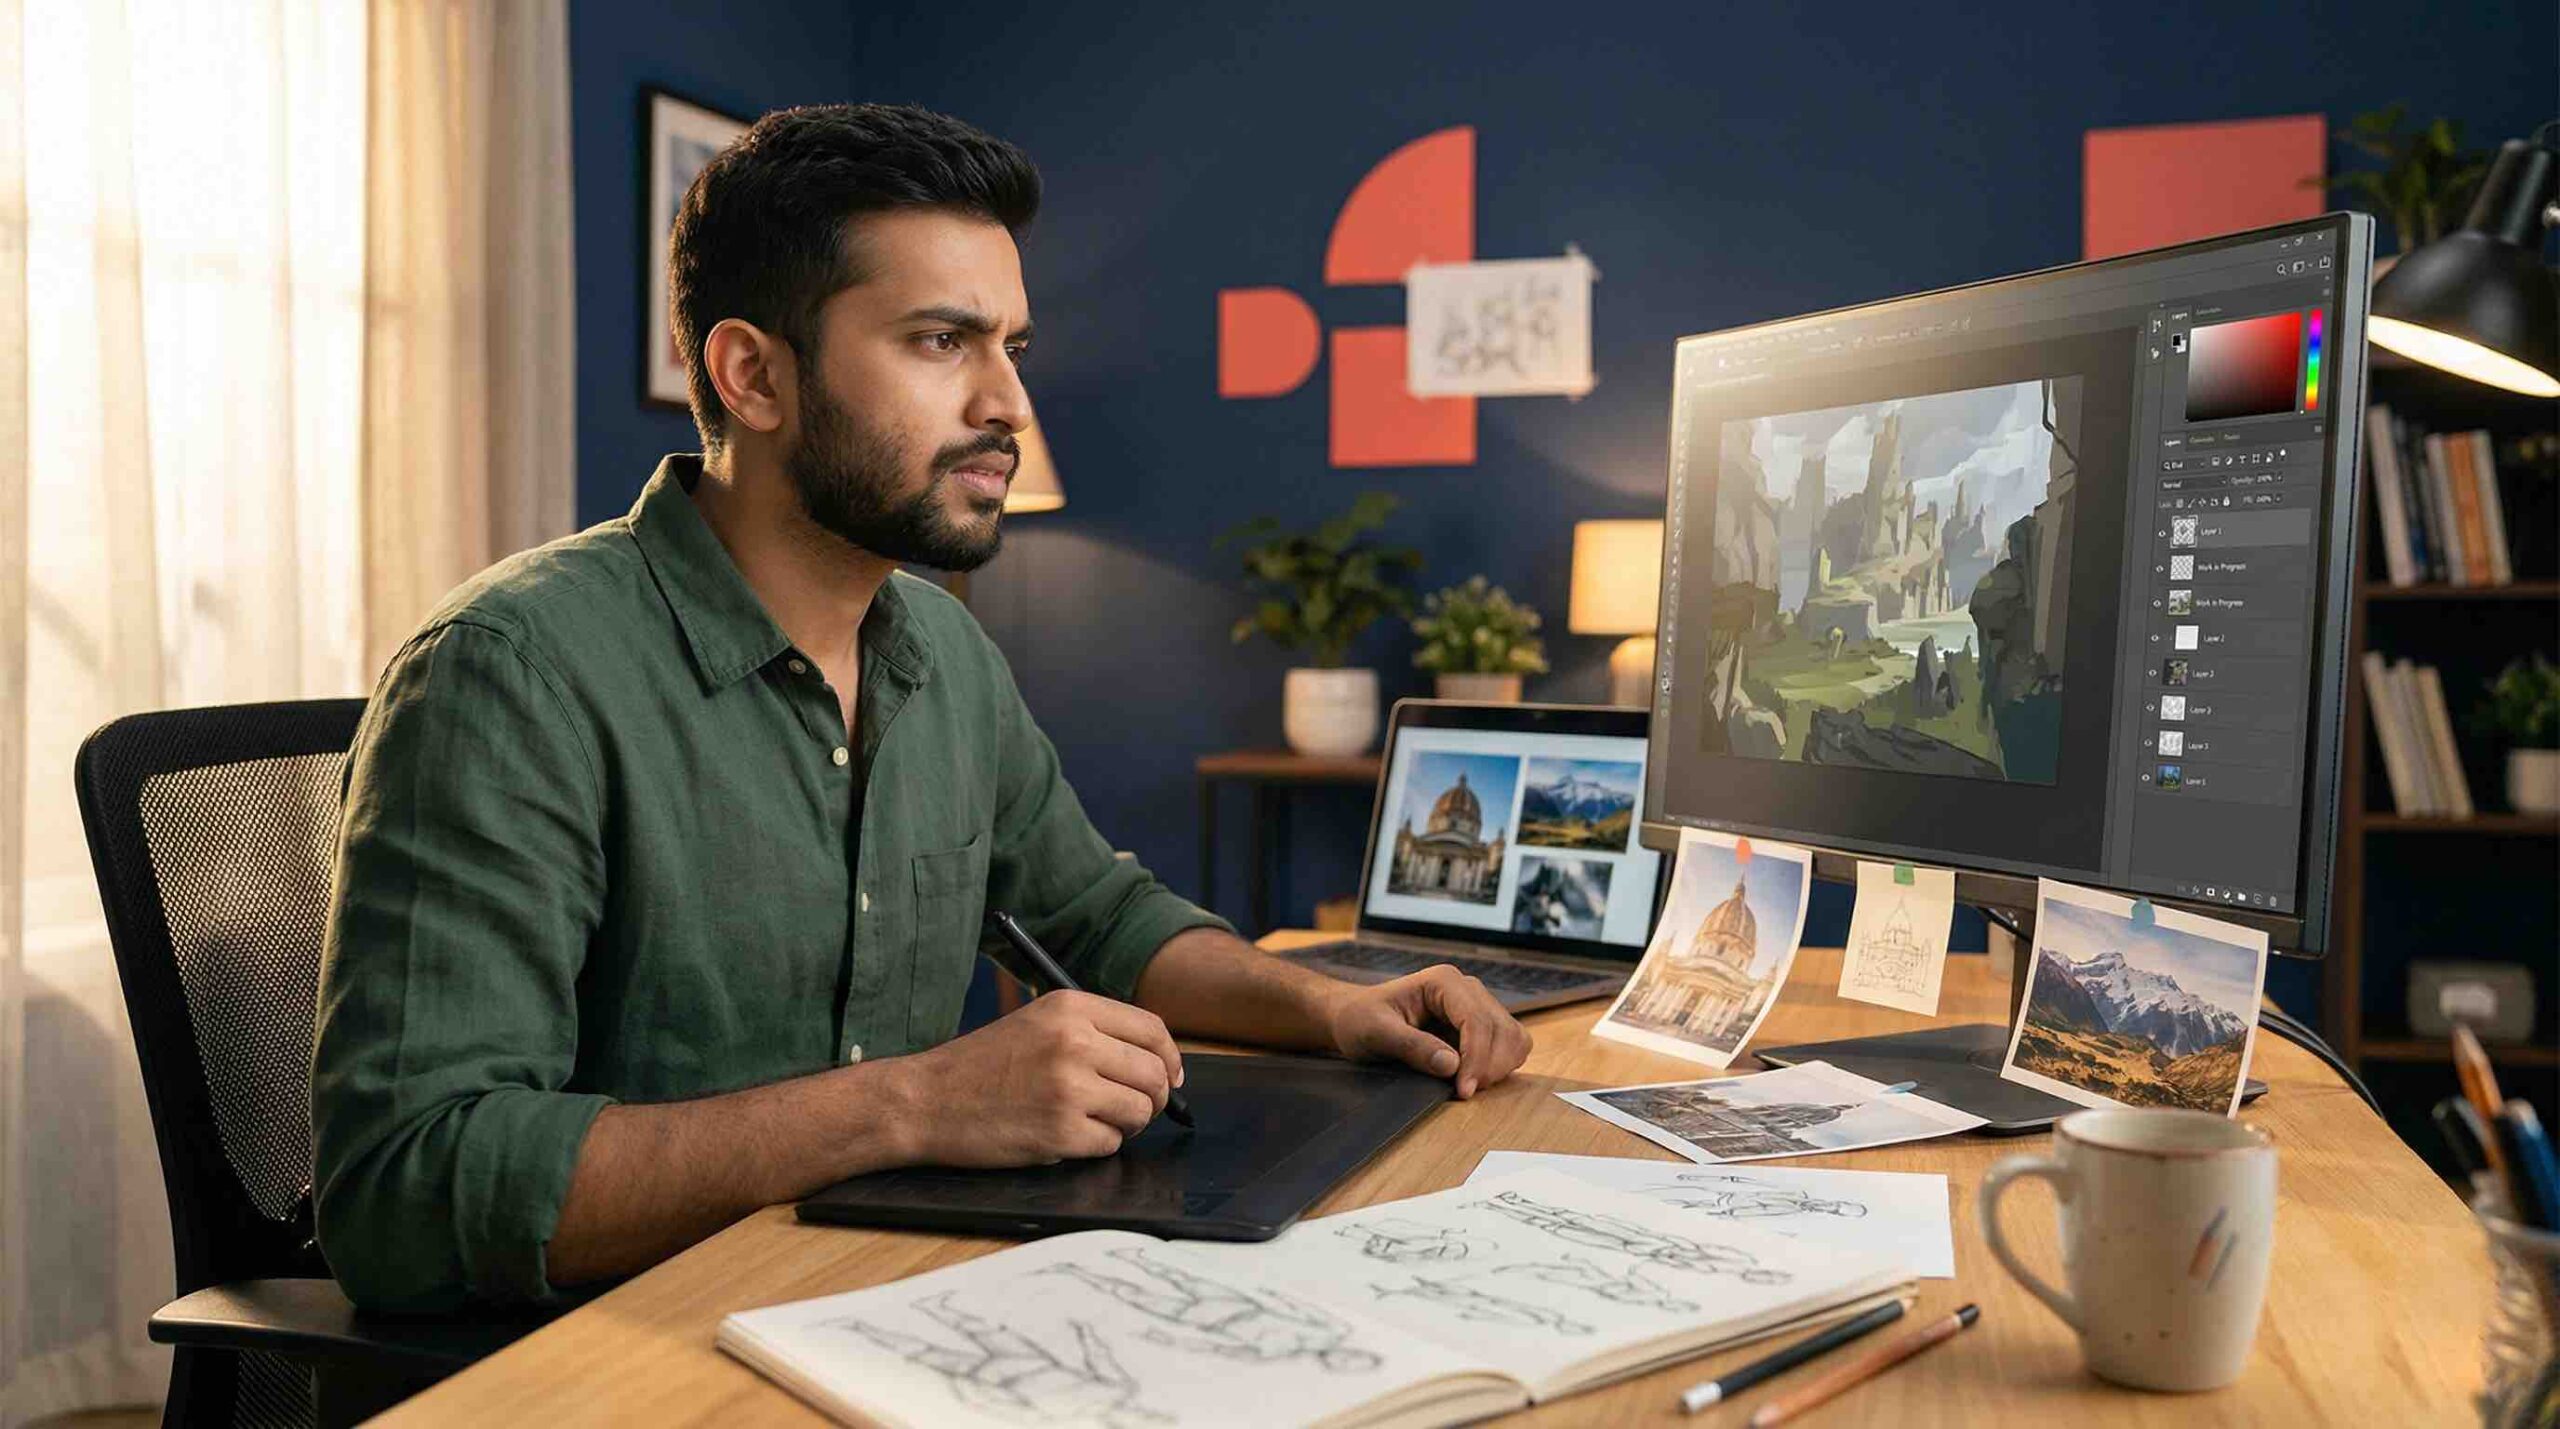


Every artist makes mistakes when they start — and in digital painting, most beginners make the same mistakes, because the tools themselves lead you toward certain bad habits. The good news: once you know what to look for, most of these are straightforward to fix.
📖 How to use this guide: Each mistake has two parts — what the mistake actually is, and the specific fix. If you recognise yourself in one, focus on that fix for your next painting session before moving on to the next one.
These are the mistakes that undermine everything else. Get these right first, and the rest becomes much easier.
Skipping the Sketch Phase
Jumping straight into painting without a rough sketch to plan proportions, composition, and gesture.
Always sketch first — even a rough, two-minute gesture sketch at low opacity. It is infinitely easier to fix a composition at the sketch stage than after you have spent hours rendering colour.
Not Using References
Painting entirely from imagination before your visual library is developed enough to support it. The result is anatomically incorrect, spatially inconsistent work.
Use reference for everything. Professional artists use reference constantly — it is not a crutch, it is a tool. No one memorises every detail of every face, hand, fabric fold, or lighting condition.
Using Too Many Brushes
Cycling through dozens of brushes, hoping to find one that makes the painting look better, instead of developing skill with a small set.
Use three brushes maximum for the first six months — a hard round, a soft airbrush, and one textured brush. Master them before adding others. More brushes do not compensate for technique gaps.
Ignoring Value Before Colour
Working in full colour from the start without establishing a clear light-and-shadow structure first. This almost always produces flat, confusing paintings.
Do your first several paintings entirely in greyscale. Nail the value structure — darkest dark, lightest light, how they transition. Once satisfied, add colour using blend modes like Colour or Hue.
Merging Layers Too Early
Merging all layers into one after the sketch or block-in stage, destroying the ability to edit elements independently.
Keep layers separate as long as possible. Name them clearly — Sketch, Line Art, Flat Colour, Shading, Highlights, Details. Only merge when you are completely satisfied with a stage and certain you will not need to edit it.
Get live feedback on your work
Join Artma's free weekly workshop for real-time critique — the fastest way to eliminate these mistakes from your own work.
Reserve Your Free Spot →These mistakes make your paintings feel flat and lifeless even when the composition is solid. Understanding light changes everything.
Making Shadows Too Dark and Desaturated
Painting shadows by simply adding black to the base colour. Real shadows are not darker versions of the same colour — they are cooler, often more saturated, and influenced by ambient light.
When painting shadows, shift the hue slightly toward blue or purple (for warm-lit subjects) and slightly increase saturation. Avoid black entirely for most shadow work.
Overusing the Smudge Tool
Using the smudge or blend tool aggressively to smooth out every transition, resulting in a plastic, overworked appearance with no paint texture.
Blend using a low-opacity soft brush instead of the smudge tool. Use smudge sparingly, only for specific soft-edge effects. Preserve some brushwork texture — it is what makes a painting feel alive.
Painting with Too-High Opacity
Working at 100% opacity for all strokes, which creates harsh, abrupt colour transitions and makes blending difficult.
Drop your brush opacity to 40–70% for most painting work. Build colour gradually through multiple strokes. Reserve 100% opacity for final sharp details and accents only.
Neglecting Colour Temperature
Painting with uniform colour temperature throughout — everything equally warm or equally cool — creating a flat, lifeless atmosphere.
Introduce temperature contrast deliberately. Warm light sources create cool shadows. Cool light sources create warm shadows. This interplay creates depth and visual interest even in simple paintings.
No Clear Light Source
Adding highlights and shadows inconsistently, as if light is coming from multiple directions simultaneously, or from no particular direction at all.
Before painting any light or shadow, decide exactly where your light source is. Write it down: "Light source: upper left, warm, strong." Every shadow and highlight should be consistent with that decision.
"Flat paintings are almost always caused by two things: insufficient value contrast and an inconsistently applied light source. Fix both and the painting comes alive."
These mistakes are less visible but often the most damaging. They slow progress, cause plateaus, and are the main reason beginners quit.
Zooming In Too Much, Too Early
Getting absorbed in tiny details before the overall composition and forms are solid. This produces paintings that look good close up but fall apart when viewed at full size.
Stay zoomed out at 50–75% view for the first 60–70% of a painting. Establish overall shapes, values, and colour masses before zooming in for detail. Check full composition view regularly throughout.
Painting on a Single Layer
Doing everything on one layer, which makes corrections destructive and editing almost impossible.
From day one, develop a multi-layer workflow. Separate sketch, line art, colours, shading, and details into distinct layers. The extra few seconds to create a new layer saves hours of frustration later.
Not Flipping the Canvas
Painting for hours without ever flipping the canvas horizontally. This creates systematic asymmetry that is invisible to you because your brain adjusts to it.
Flip your canvas horizontally every 15–30 minutes. Mistakes in proportion, symmetry, and balance that are invisible normally become obvious in the mirror view. Fix them, flip back, and continue.
Comparing Yourself to Professionals After 3 Months
Getting discouraged because your work after three months doesn't look like the work of artists with five or ten years of practice. This is the single biggest reason beginners quit.
Compare yourself only to your work from three months ago. Keep a folder of your earliest paintings as a reference point. The growth between month one and month six is remarkable — but only if you keep going.
Practising Without Direction
Painting whatever comes to mind with no systematic approach to improving weaknesses. This leads to slow, frustrating progress and plateaus that last for months.
Identify your weakest skill and dedicate deliberate practice to it specifically. Use structured resources — tutorials, workshops, structured critique — to get feedback and stay on course.
Frequently Asked Questions
Why does my digital painting look flat?
Flat paintings are almost always caused by insufficient value contrast, an inconsistently applied light source, or jumping straight to colour without a solid greyscale value structure. Fix it by starting your next painting in greyscale and only adding colour once the light and shadow reads clearly.
Why do my digital paintings look muddy?
Muddy paintings are typically caused by overuse of the smudge tool, mixing complementary colours directly, working at 100% opacity, or using too many desaturated mid-range colours without bright accents. Reduce smudge tool use and build colour gradually at lower opacities.
How do I stop my digital art from looking like clip art?
The clip art look comes from flat colour fills with hard black outlines and no shading. Fix it by replacing black outlines with dark-coloured lines, adding a Multiply blend mode shadow layer, and applying a subtle texture pass with a rough brush.
Fix These Mistakes Faster — With Structure and Live Feedback
Reading about mistakes is one thing. Actually catching yourself making them in the middle of a painting is another. That is where having a structured program and a live instructor makes all the difference — like learning to drive with someone beside you who says "you braked too late" in real time.
- Value and greyscale before colour
- Light source consistency
- Colour temperature and shadow theory
- Layer workflow from day one
- Reference and sketch habits
- Apply what you've learnt in real time
- Get corrections on your actual work
- New project or technique every week
- Draw alongside others at the same stage
- Ask questions, get answers — not a recording
✦ Read Next
Keep building your skills
Fix These Mistakes —
With Live Expert Guidance
Structured instruction and real-time feedback that corrects these exact mistakes in your own work — fast.